BLOG
Using multi use plastic (MUP) in lieu of single-use plastic (SUP) is a great way to reduce your carbon footprint, and we love finding creative ways to upcycle plastic containers. Upcycling is a fun approach to living an environmentally conscious lifestyle, and our goal is to reduce our reliance on SUP by turning it into MUP.
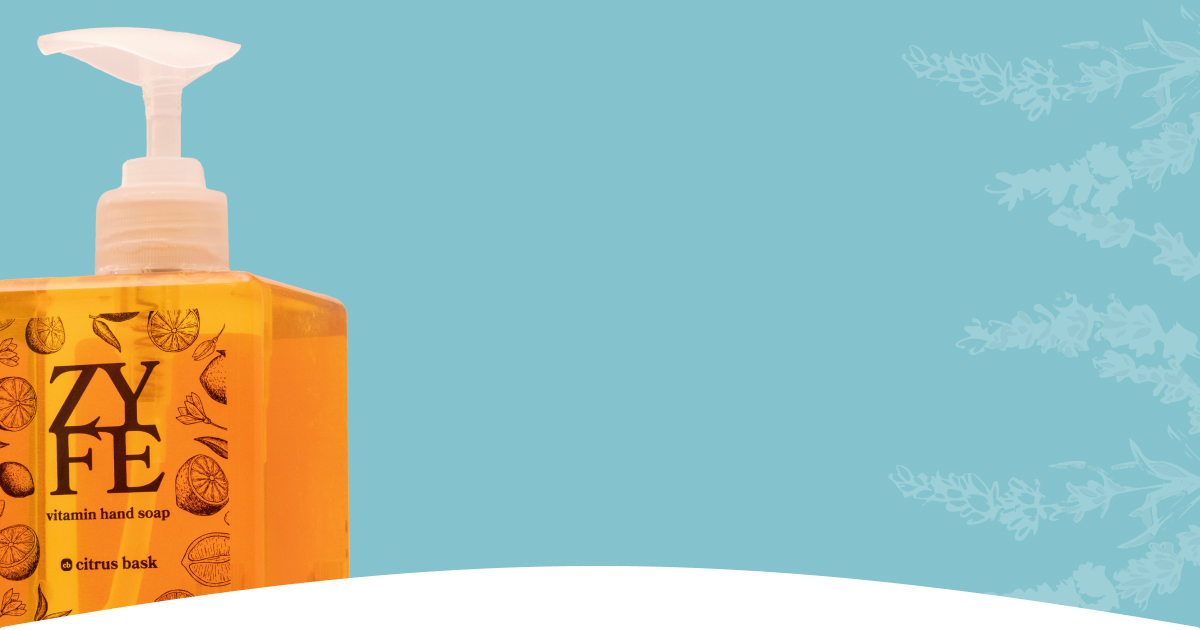
We’ll be coming up with tons of fun ideas for reusing your old plastic containers, especially Zyfe Soap 12oz soap containers, but let’s start with our favorite: turning it into a planter! Zyfe soap containers are especially suited for small plants like microgreens or succulents.
At Zyfe we also sell a coco coir that’s the perfect fit for our dispensers. If you get one for yourself, and share a picture of your new dispenser-planter on Instagram with the hashtag #zyfeplanter, you’ll receive a full refund for the cost of the coco coir. We want there to be no barriers between you and your ability to reuse our planters.
FYI: We'll message you on Instagram to get the refund process started, so after you post, expect a DM from our account: @zyfesoap.

Why should you reuse your soap dispenser?
While of course you could just recycle it, turning your dispenser into a planter is a handy and eco-friendly way to liven up your countertop, table, or desk. You can even save money and live more sustainably by growing your own food.
Gardening is a fun and relaxing hobby that can help brighten your day and relieve stress. And it doesn’t have to require an outdoor space, or a lot of room at all. Plenty of plants can be grown in smaller spaces. Whether you’re growing microgreens, succulents, or anything in between, here’s how to convert your Zyfe soap dispenser into a planter.
How to turn your dispenser into a planter
- Remove the pump and wash out the container thoroughly. The pump is made of 100% recycled plastic, and can be recycled again!
- Use an x-acto knife or similar tool to carefully cut off the top of your dispenser. Be sure to mark where you want to cut before you go through with it. Where you cut it will depend on how tall you want your planter to be. Make sure that the sides won’t tower over the plant once it has sprouted.
- Add drainage holes in the bottom.
What are microgreens?
Microgreens are basically seedlings of vegetables and herbs. They grow quickly and are normally harvestable within 7-10 days of planting. Growing microgreens is a great way to have a mini indoor vegetable garden, and help you add a refreshing crunch to salads, sandwiches, and more.
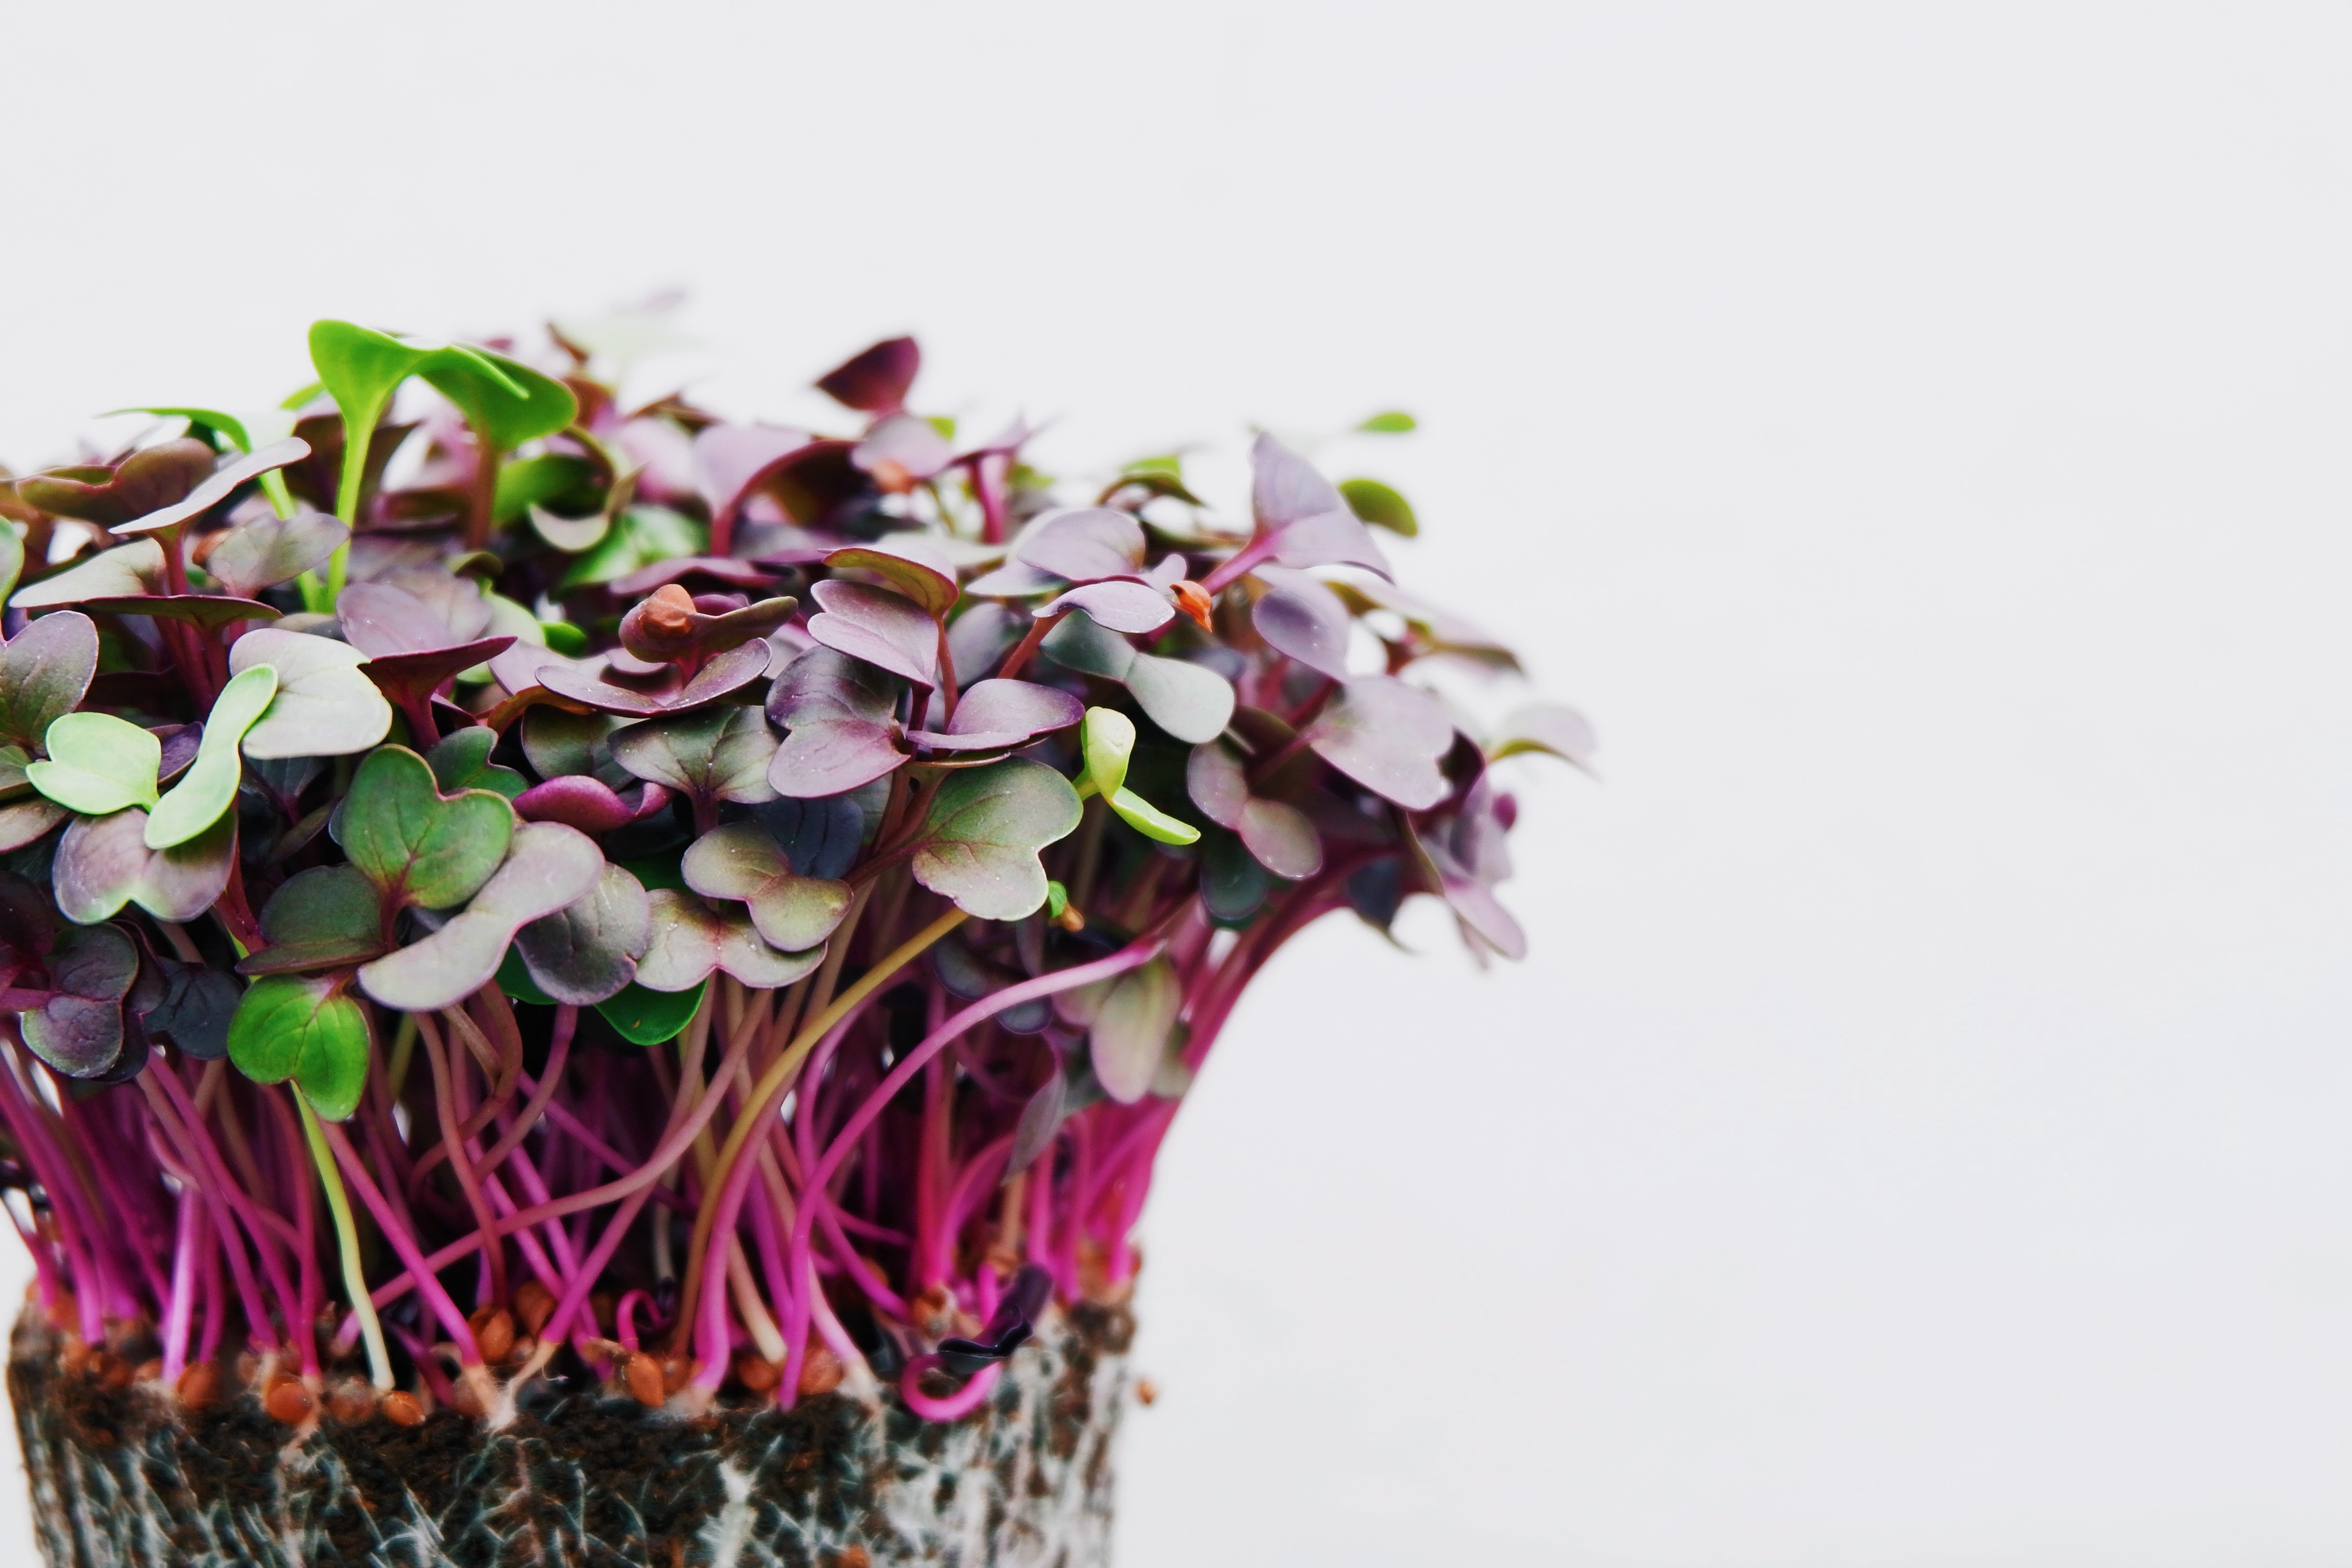
Many vegetables can be grown as microgreens, from broccoli to radishes. One type of microgreen we recommend in particular is the purple sprouting radish. This microgreen is a breeze to grow, and its delicious, peppery flavor goes with just about anything.
How to grow a purple sprouting radish
For this example, we’ve chosen a purple sprouting radish, but these directions will be quite similar for most types of microgreens.
To grow radish microgreens, you will need:
Here are the steps to sprouting, growing, and harvesting your radish:
- If using a growing mat such as a coco coir, place it into your converted dispenser, and moisten it with water. It will expand to fill the container. If using soil, pour it in and gently pack it down. Be sure that the edge of your dispenser isn’t more than a half-inch taller than the top of the expanded coco coir, or over the top of the soil.
- Take your radish seeds and press them, one at a time, into the soil. For every square inch of soil, you can fit about 10 seeds. Try to spread them evenly.
- Mist them with water.
- Cover the container, such that light is completely blocked from coming into the top. The seeds need complete darkness to germinate. Place the covered planter in a dark, dry place for 2-3 days.
- If, after 3 days, most of them have sprouted, take them out of the darkness and place them in a sunny spot in your home. They need lots of light to grow - preferably 12 hours a day.
- Water your seeds from the bottom. Fill your flat-bottomed container with a few inches of water and place the planter in it. The soil should be able to soak in the water, but the planter should not be submerged. Watering from the bottom prevents the soil from remaining too damp on top, which can lead to unwanted bacterial growth.
- Water your seeds from the bottom once every few days, allowing the soil to mostly dry out between waterings.
- Within another few days, your microgreens will already be ready for harvest. Remove them when they are 2-3 inches tall for optimal flavor.
- If you’re planning on storing them before eating, don’t wash them when you harvest. Keep them in an airtight container in your fridge, preferably the crisper drawer, for up to a week. When ready to eat, give them a quick rinse in cold water.
- Microgreens don’t regrow once harvested, so when you want more, you’ll have to repeat this process.
How to grow a different type of plant in your dispenser
If you’re planning on using your upcycled dispenser to germinate a different type of seed, be sure to follow the instructions for whatever type of seed you have. And if you want to use the planter to grow an already-sprouted plant, that’s just as well. However, be sure that you cut the dispenser to be tall enough to accommodate established plant roots.
By upcycling your plastic soap container, you’re taking a small but significant step towards a more sustainable lifestyle. Turning it into a planter will also mean you’re picking up a new hobby! And remember: if you get the Zyfe coco coir, post your new planter on Instagram with the hashtag #zyfeplanter and we’ll comp the cost of the coco coir! We'll message you on Instagram to get the refund process started, so after you post, expect a DM from our account: @zyfesoap.
We’re going to be coming up with plenty more creative ideas, so if gardening isn’t your thing, keep checking our blog for more tips & tutorials!
In the meantime, check out our selection of four meticulously crafted, botanical soap scents, and take your first step towards a greener tomorrow. Shop now on Amazon.